
Updated
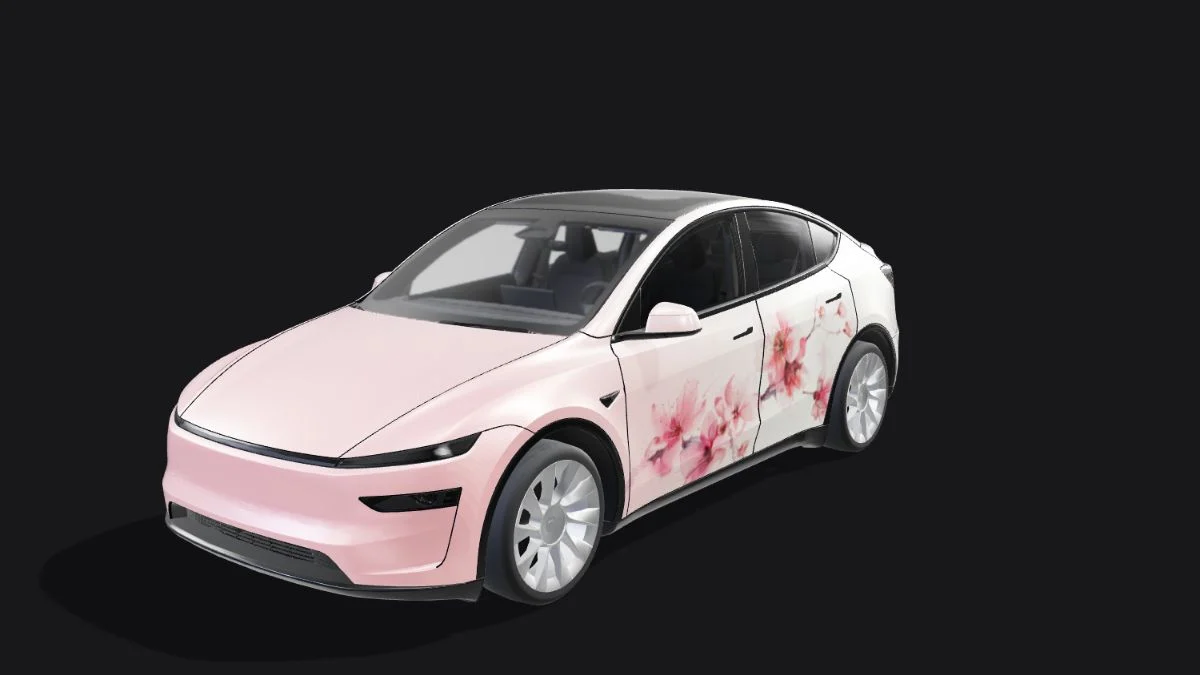
A photo becomes a useful Tesla wrap only after its artwork is arranged on the correct vehicle template. A picture of a finished car is a reference, not a ready-to-upload texture. Decide which colors, shapes and subject you want to preserve, then check the generated panel layout before exporting.
| Goal | Best starting point | What to inspect |
|---|---|---|
| Keep a small original illustration | Import it as an image layer | Position, readability and orientation |
| Reinterpret a photograph as a full-body pattern | Use the photo as an AI reference | Panel coverage, distorted details and unwanted text |
| Match an existing physical wrap | Supply clear views of its distinctive details | Approximate layout; exact reproduction is not guaranteed |
Choose the part of the photo that should survive
Crop away app controls, captions and unrelated surroundings. A large, clear subject gives you more control than a screenshot containing several tiny designs. If a photograph includes reflections, shadows or a colored wall, say whether those belong in the artwork. Otherwise a generation may reinterpret the lighting as part of the pattern. Keep the original reference separately so you can compare results after each change.
Select the vehicle before generating
The template defines where doors, bumpers and other body panels receive the image. Choose the vehicle variant before spending credits. A good-looking result for another model is not repaired by simply resizing it. If you change vehicles, treat the previous artwork as a visual reference and arrange it again on the new template rather than assuming its panel coordinates still fit.
Write a reference prompt with a clear layout
For an original landscape photo, try: “Use the mountain shapes and the blue-to-orange palette from my reference. Put a broad horizon across the door panels, keep the hood mostly dark blue, and use small orange accents on the rear. No lettering or brand marks.” This is a design brief, not a promise of exact placement. Start with one result and change one instruction at a time instead of adding several competing styles.
Use manual placement when fidelity matters
AI may redraw a motif, alter text or invent details. If you need a specific small illustration to stay unchanged, upload that artwork into the editor and place it as a separate layer. Move, resize and rotate it while watching the 3D preview. Put important text inside one panel with comfortable margins. A single photograph stretched across the entire UV sheet usually scatters the subject across unrelated parts.
Review the result before accepting another generation
Rotate through the front, rear and both sides. Look for a subject cut by a panel edge, different motifs on opposite doors, accidental letters and a solid background where you expected transparency. Correct a small placement issue manually when possible. Regenerate when the overall composition is wrong, using a specific correction such as “larger door motif, simpler hood” rather than “make it better.”
Export a texture, then verify it in Paint Shop
Download the flat PNG from the editor, not a screenshot of the car. Check its actual dimensions, file size and filename, then transfer the original file. Browser lighting and camera framing are useful for layout review but are not a calibration of your vehicle screen. The final check is the design on a compatible vehicle. Photo-to-wrap generation creates digital artwork; it does not deliver physical vinyl or an installation plan.
Continue with your wrap
Sources and compatibility
Requirements checked against Tesla’s published instructions on the date above. Your vehicle’s available features and software remain the final compatibility check.