
Updated
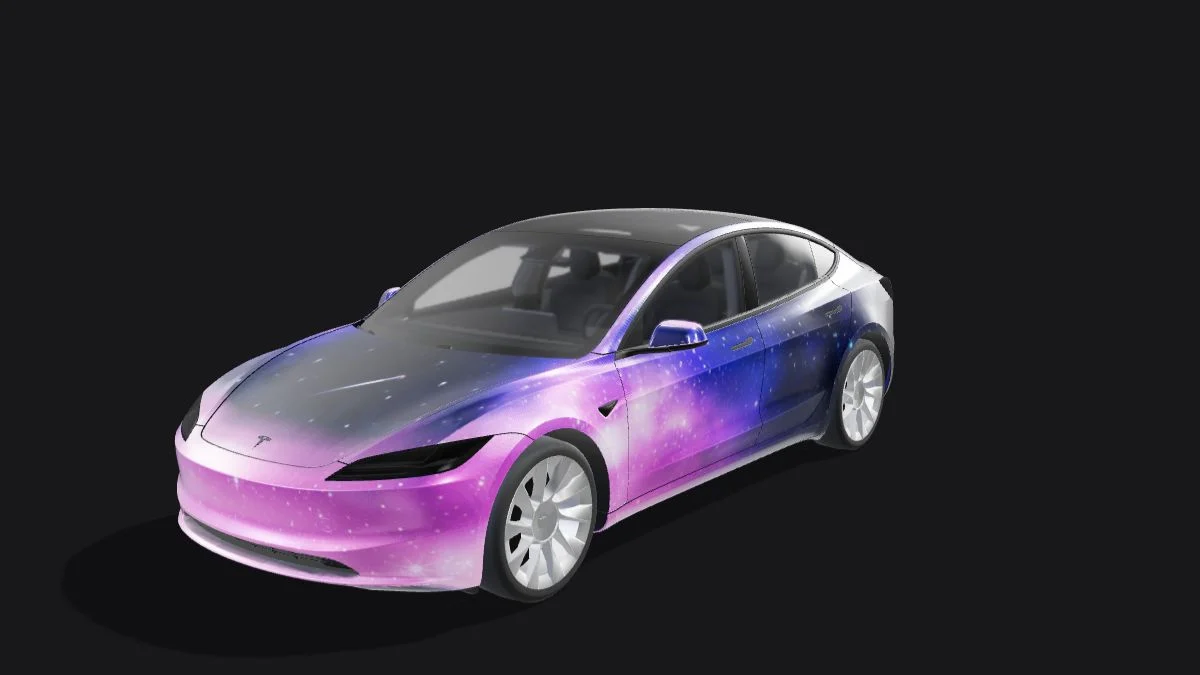
Try PNG optimization at the original dimensions before changing the template size. If it is still too large, reduce unnecessary image detail or carefully limit colors, then consider a proportional resize that stays within Tesla’s dimension rules. Keep the original design so a smaller file does not become your only editable copy.
| Method | Changes visible pixels? | Inspect afterward |
|---|---|---|
| Lossless PNG optimization | Not when the tool operates losslessly | Dimensions, alpha and actual byte size |
| Remove unnecessary noise in the artwork | Yes | Whether the design still reads as intended |
| Palette / color quantization | Can alter colors and edges | Gradients, lettering and transparency |
| Proportional resize | Yes; fewer pixels | Aspect ratio, minimum dimensions and small details |
Measure the downloaded PNG in bytes
The size of an editable project, a ZIP archive or a browser preview is not the size of the file Paint Shop receives. Check the exported PNG itself. Aim comfortably below the published limit rather than depending on how an operating system rounds megabytes. Keep a copy of the large original, give each test export a simple distinct filename and compare the actual files after each step.
Optimize encoding before changing the artwork
PNG uses lossless compression, but different encoders can produce different file sizes from the same pixel data. Try a PNG optimizer that offers an explicitly lossless mode and preserves alpha. Then compare the image and check its dimensions. Metadata removal may save space, but do not assume metadata is the main reason a detailed texture is large. If the file barely changes, move to simplifying the artwork instead of repeatedly running the same operation.
Simplify noisy areas that do not help the design
Fine grain, photographic foliage and random speckles introduce many small changes in neighboring pixels. Consider replacing a background texture with a cleaner color block, spreading out tiny stars or using fewer repeated details. Evaluate the result at the normal 3D preview size. Detail that disappears at that size may not justify its storage cost. Keep important motifs and lettering intact rather than blurring the complete image.
Understand what limiting colors can change
Converting an image to a smaller palette can reduce file size, but it is not automatically lossless. Smooth gradients may gain visible steps and partially transparent edges may change. Tesla × Wrap’s current exporter tries a 256-color PNG and can use a smaller, 128-color fallback. Inspect the downloaded result, especially dark gradients, subtle color transitions and small colored text. Undo the change if the compromise is too visible.
Resize proportionally and keep the whole template
Only reduce dimensions after checking the less disruptive options. Keep the aspect ratio and all panel positions; do not crop empty-looking space or stretch a rectangle into a square. For square templates, our smaller export is 512 × 512. For Cybertruck it is 768 × 576. These are the site’s fallback choices within the official dimension bounds. Confirm that fine lettering survives and every panel remains in the same relative position.
Run the complete file check again
A smaller PNG is useful only if the remaining requirements still hold. Verify the real file format, dimension range, filename and transparency, then open the design in 3D before transferring the original PNG. If a compliant file does not appear in Paint Shop, use the upload troubleshooting guide instead of compressing it again. Do not convert to JPEG merely to reduce size; renaming that file will not make it a compatible PNG.
Continue with your wrap
Sources and compatibility
Requirements checked against Tesla’s published instructions on the date above. Your vehicle’s available features and software remain the final compatibility check.